This will provide instructions on how to remote desktop into the actual Windows Server that runs the Minecraft Server! For now, these instructions are only for Windows, however it is possible to do the same thing on other operating systems that support Microsoft’s Remote Desktop Client.
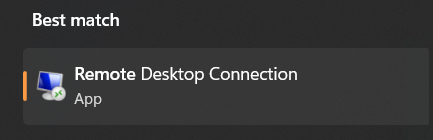
First, you need to open the Remote Desktop Client. To do this, simply search for Remote Desktop Connection in the Windows search bar. You should see the following result:
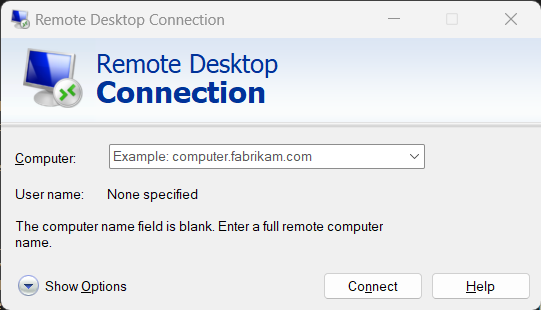
Click on that search result, and the Remote Desktop Client should open. It’ll look like this:
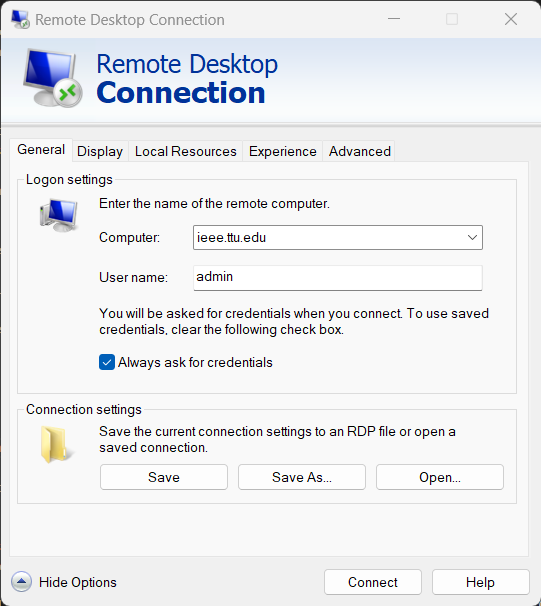
Now you need to click the Show Options drop down. Then enter the following information in the following boxes:
-
ComputerShould haveieee.ttu.eduin it. -
User nameshould beadmin(you may have to check the box that saysalways ask for credentials.)
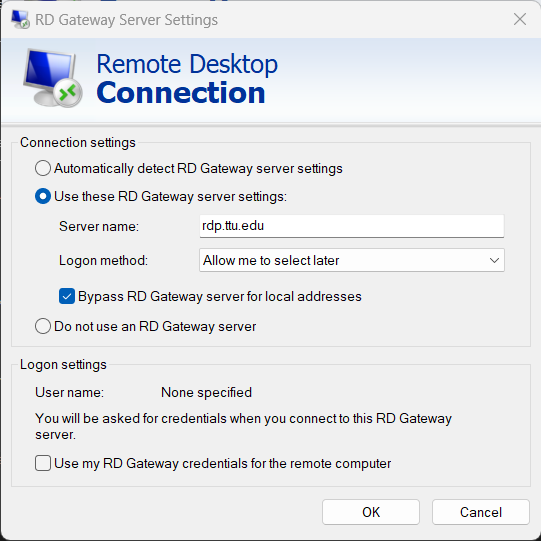
Now go to the Advanced tab and under Connect from anywhere, click Settings. This will open a new dialogue box. You need to change the following settings:
- Set
Connection SettingstoUse these RD Gateway server settings Server nameneeds to berdp.ttu.eduLogin methodneeds to beAllow me to select later- Now press OK. You should be returned to the main remote desktop window. You can now click “Connect”
If you are not connected to TTU Net, you should now see a login prompt for RD Gateway Server Credentials. You need to enter your TTU Eraider login information here. your username will also need to have ttu\ in front of it. For example, if your eraider username is jsmith, you would enter ttu\jsmith. Note that this is a back slash (\) and not a forward slash (/)!
You should now be connected to the TTU RDP gateway!
Now you will be prompted for the Windows Server login. It is following:
Username: admin
Password: _______ (Fill this in on paper if needed!)
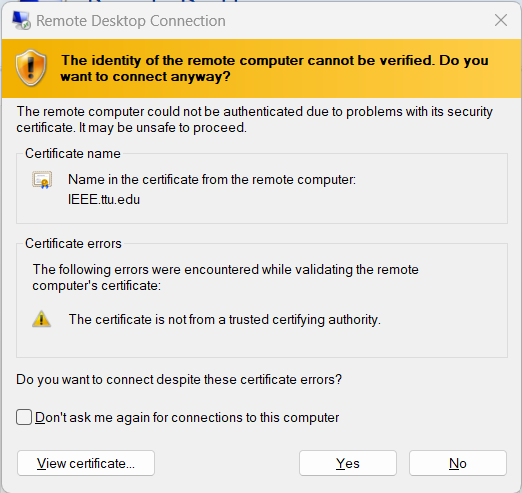
Now you will see a certificate warning, this is normal, simply press the Yes button to bypass this and connect to the computer.
You should now be connected to a remote desktop session with the Windows Server!